
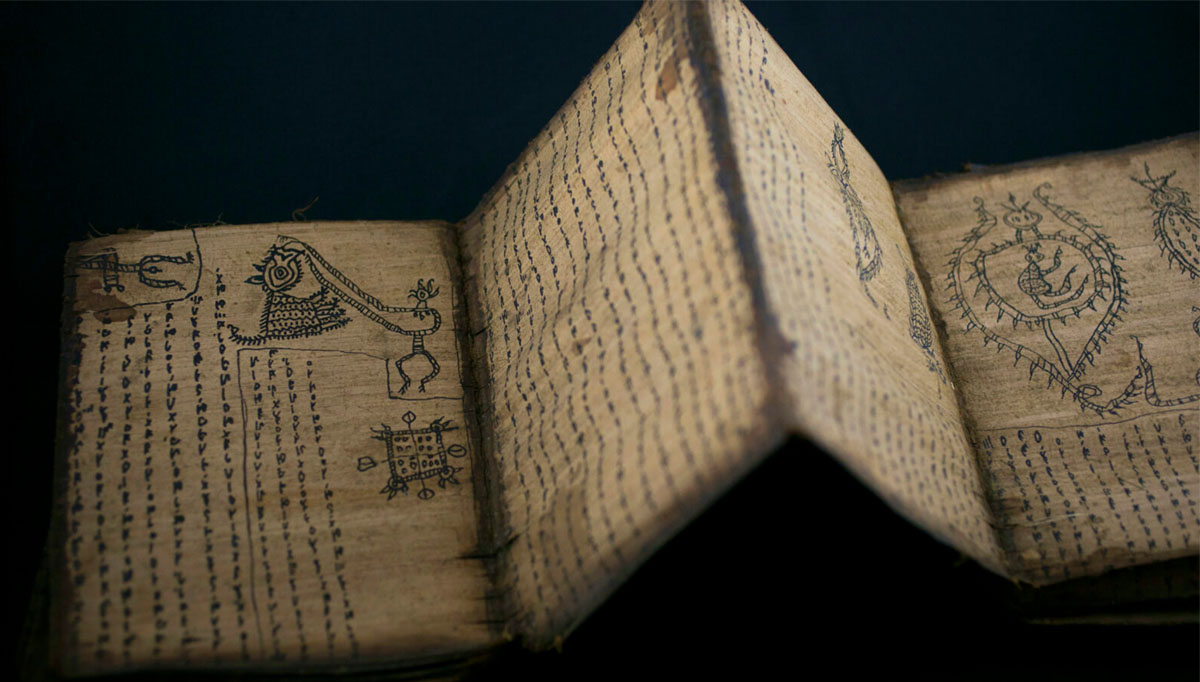
The folded books, sometimes called concertina, accordions or leporellos, originally developed from scrolls. Scrolls were awkward to read as they needed to be continually unwound and rewound to access specific passages. By folding the length of cloth, papyrus or paper into a zigzag to form pages, reading became a much simpler task. As a book form it has achieved high status for centuries in Japan , China and Korea.
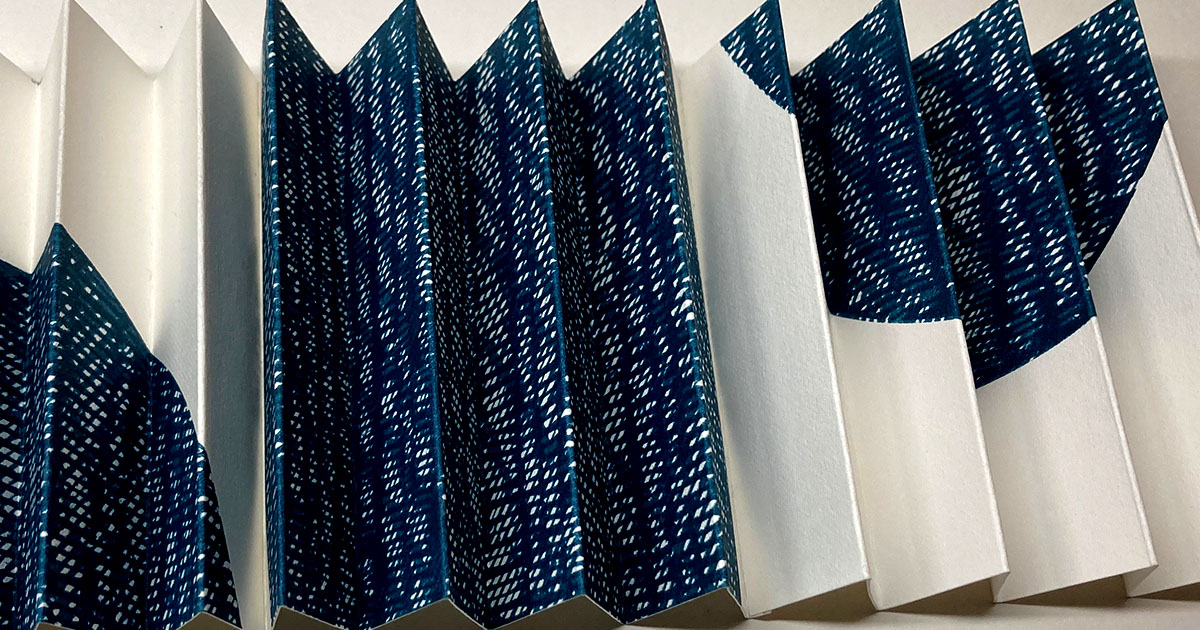
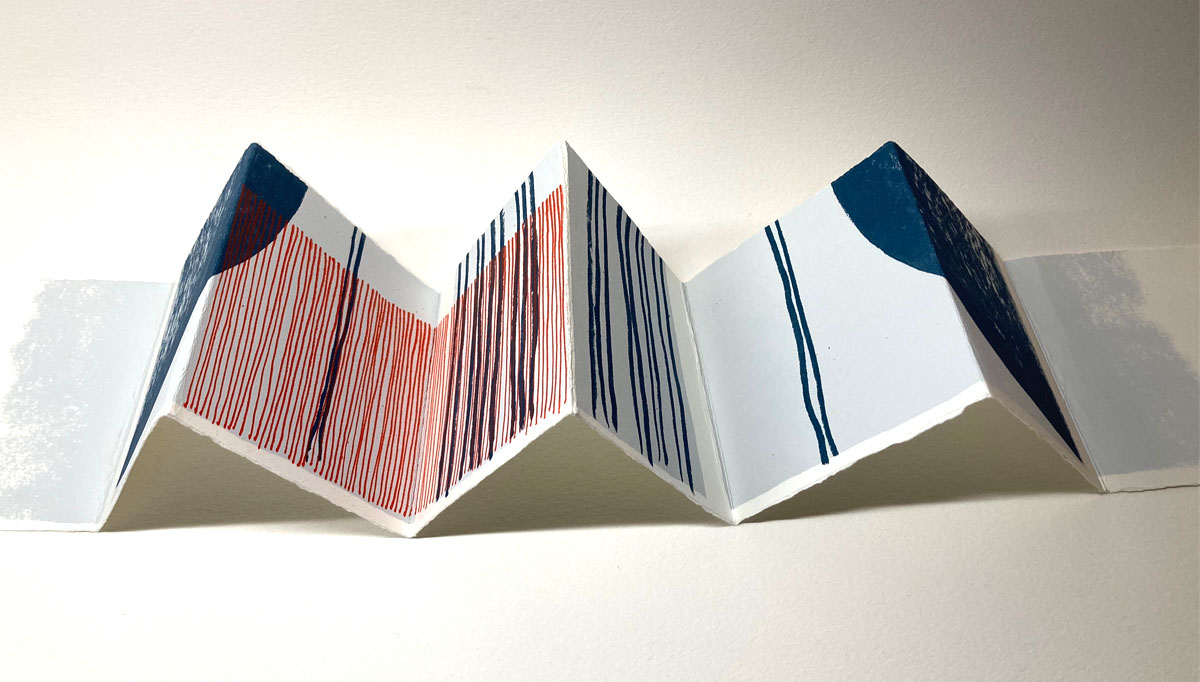
In the Western world the accordion book is often used by artists as a useful format with great potential. It is able to stand up on its own displaying a continuous array of pages and can be viewed in different ways – two pages at a time or in one long spread. This is a great advantage for display purposes where the accordion book can also be viewed from the front and the back. It lies completely flat when opened – a characteristic not found in many books.
When constructing this deceptively simple book form it is important to make sure your paper/page edges line up as precisely as possible. It only takes one fold to be slightly out of line and the whole book will end up slightly skewwhiff! Selecting the correct grain direction will help with this.
Paper has a grain direction which is very important and makes a huge difference as to how the paper will react when attempting to fold and score. Grain direction should go along the spine. Papers can be referred to as short or long grain, this relates to the direction the grain is running.
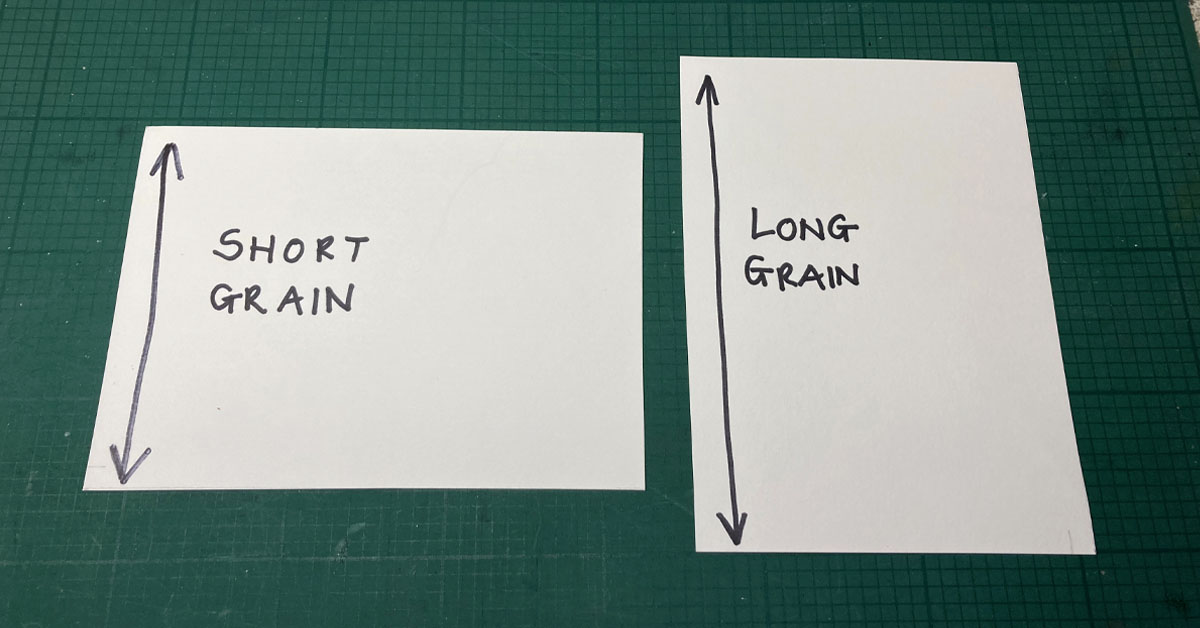
Long Grain – The grain runs parallel to the long edge of the paper.
When folding along the grain, you should get a smooth fold. Folding against the grain may result in cracks and tears (depending on paper). That happens because fibres are aligned perpendicular to the fold and you break them when folding the sheet.
Plan your folds to go with the grain of the paper that way the pages should lie flat and turn easily.
The simplest way of determining the direction of grain is the bend test. Take a sheet of paper, bend the paper (don’t fold or crease it) horizontally and vertically. There will be less resistance in one direction than the other. The bend with least resistance is parallel to the grain and is the easiest direction to fold to.
A short note on Glue
Considering which glue to use is just as important as the choice of paper. Higher quality papers are made entirely from cotton and/or linen fibres making them superior in both strength and durability. These papers, commonly referred to as “rag”, are usually “hand-made” and feature a deckled edge along with an embossed watermark. Rag papers are the best surface for printing or painting onto and are resistant to chemical break-down over time.
Wood pulp based papers often contain high concentrations of acids, and as acid is the primary cause for the deterioration of paper over time and any acidic product coming into contact with it, for example adhesive or tape, may lead to permanent damage and deterioration of the paper.
A little research into different types of glue has opened up a whole new world of discussion and debate, who knew how much importance glue has on the bookmaking world!
In general adhesives can be categorised either as pastes of glues. Pastes are usually a plant product such as wheat starch or nori paste and glues derived from animal products or synthetics. It is personal preference and dependant on the purpose of the gluing to be carried out.
Glue sticks are a fast, simple alternative for adhering paper and are especially easy and useful when only a small area needs to be secured, but beware not all glue sticks are equal some are archival and others not.
PVA is strong and quick drying but can be difficult when gluing large areas. PVA glues are widely available with formulas differing widely, look for archival quality.
Paste is ideal for adhering larger areas of paper to boards. It is possible to make your own but is a labour of love and its shelf life is limited. Tubes of ready-made nori paste are now fairly easy to obtain.
Making the book block
I’m using a sheet of fabriano rosaspina which is easier to fold width ways so have divided the large sheet into 4 pieces measuring approximately 12.5cm x 50cm. this will make 4 structures. Any type of paper can be used some being more structural than others or you might like to try a combination of different papers.
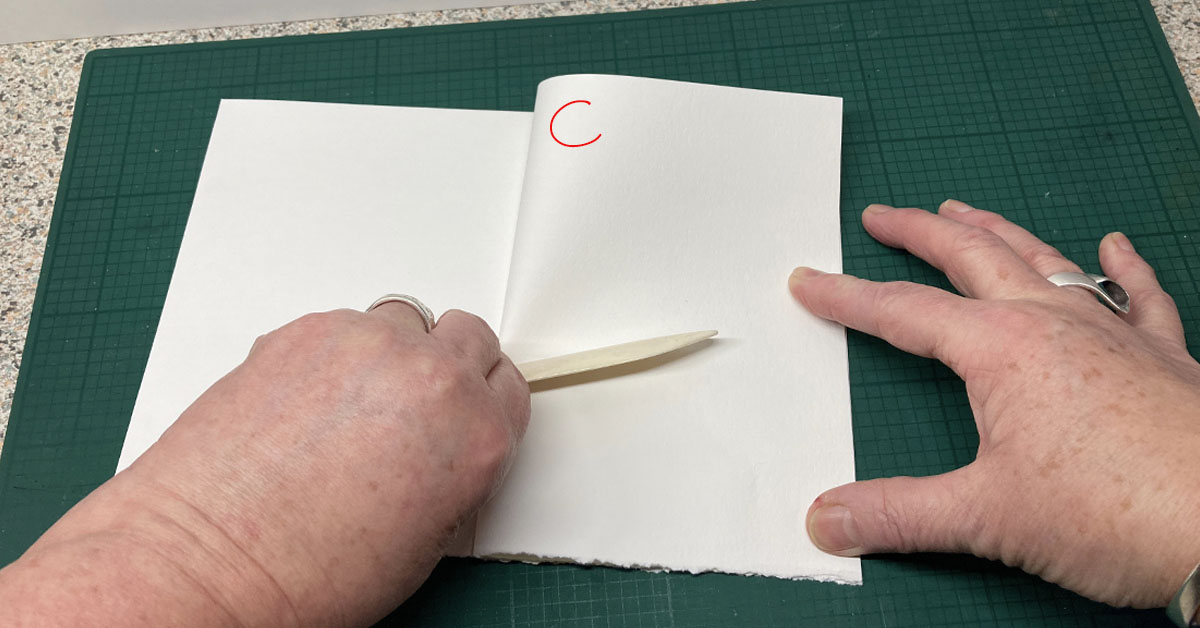
Taking one strip, fold your strip of paper in half (A) making sure to match the ends as exactly as possible, smooth the fold well with a bone folder to give a firm crease. This crease is the one that all other creases line up to.


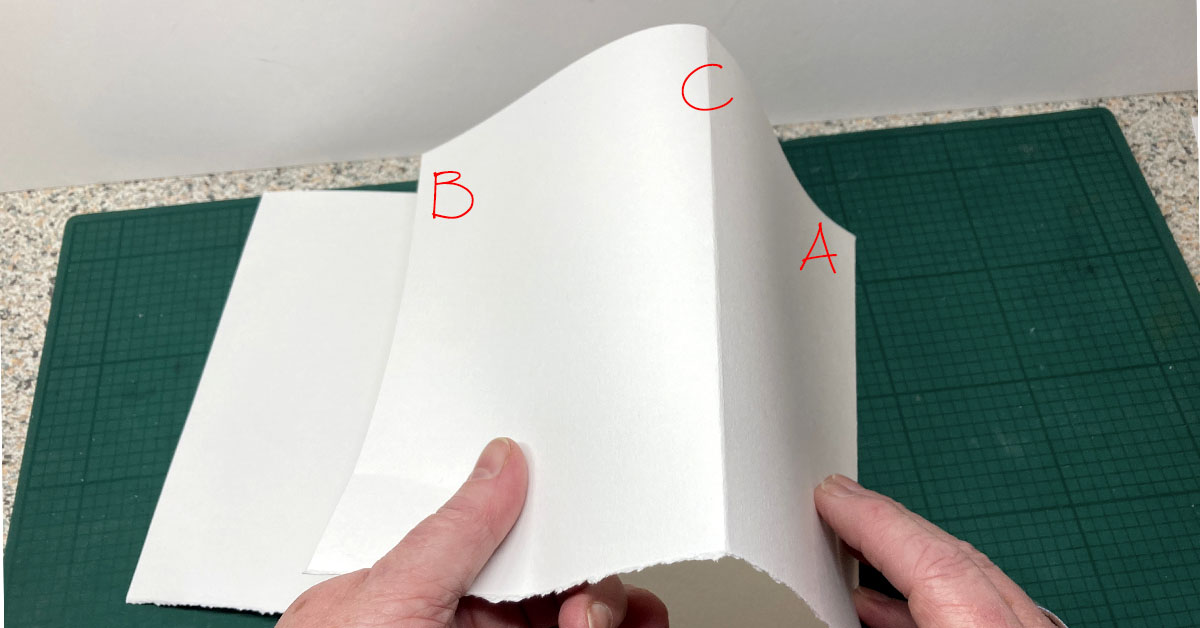
Take end (B) and fold into the middle matching up as precisely as possible with fold (A) the first fold you made.
Fold the crease line at (C) back on itself and then match up with the original fold (A)
Take the end (B) and fold up to the crease (C) making sure all are aligned as precisely as possible.

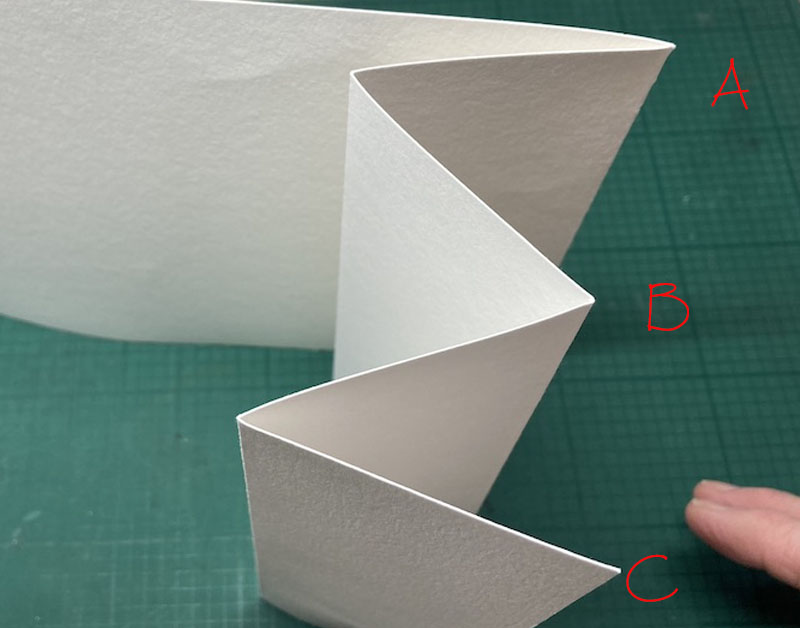
Flip the sheet over and repeat with the other half of the accordion
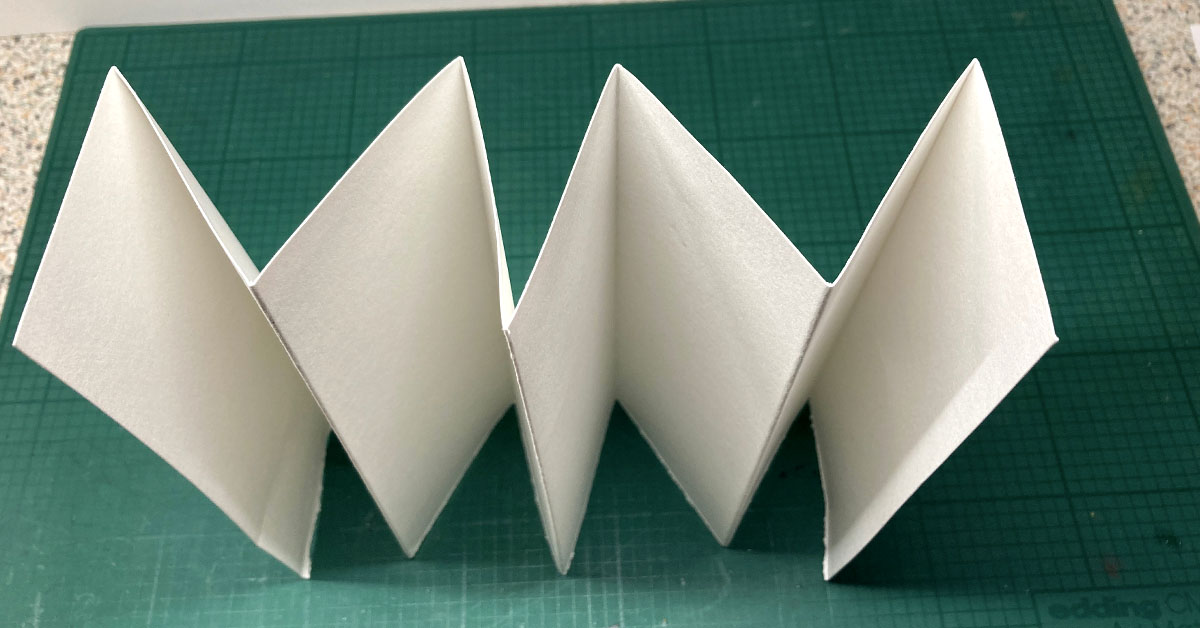
You will now have an eight page accordion fold book.
Using this size paper has created a form in which each page is quite narrow.
I don’t have paper long enough to fold an accordion with larger pages so I will need to extend the sheets by joining pieces together.
Joining two sheets together
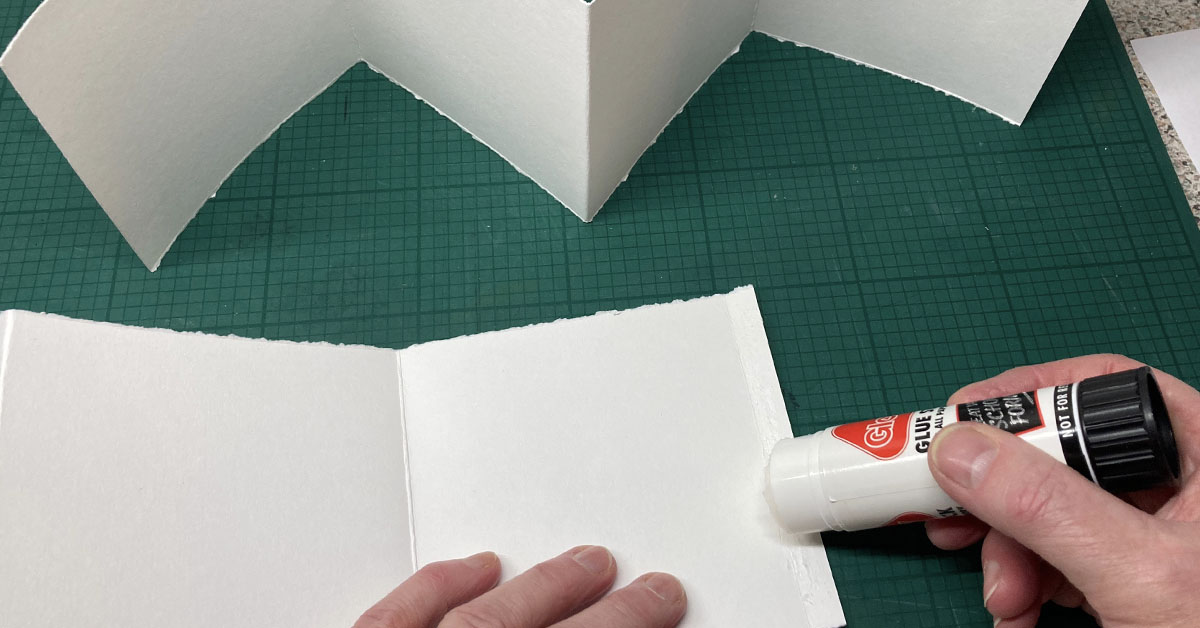
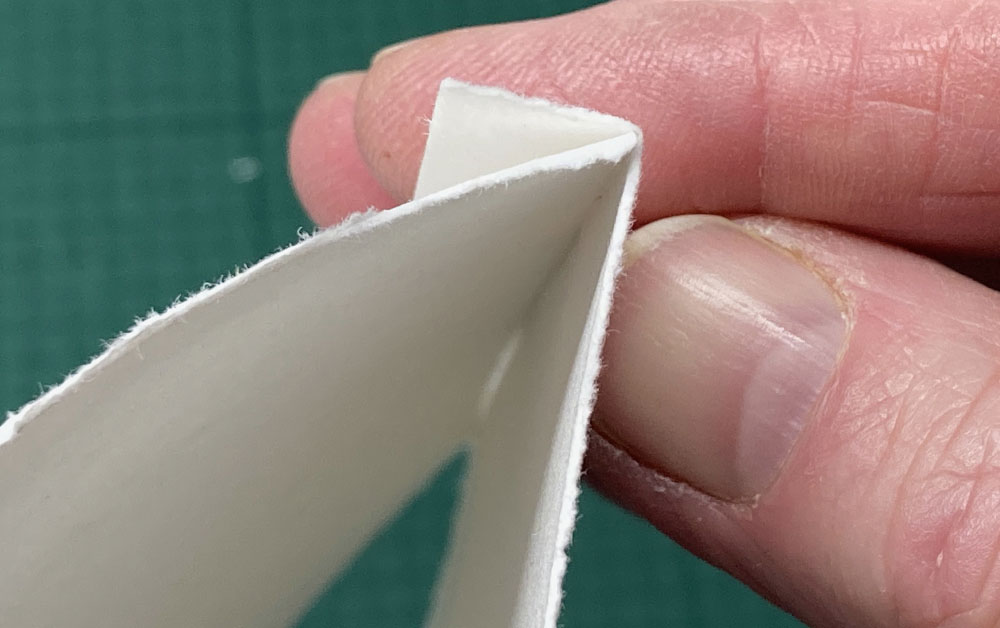
To join two lengths, take two pieces of paper at the size you need. On one allow an extra 5mm – 10mm at one end. Crease along this point and fold over.

Fold both accordion pieces as described above. When both have been completed paste the small hinge of paper on the second sheet and attach it to the back of the second fold.
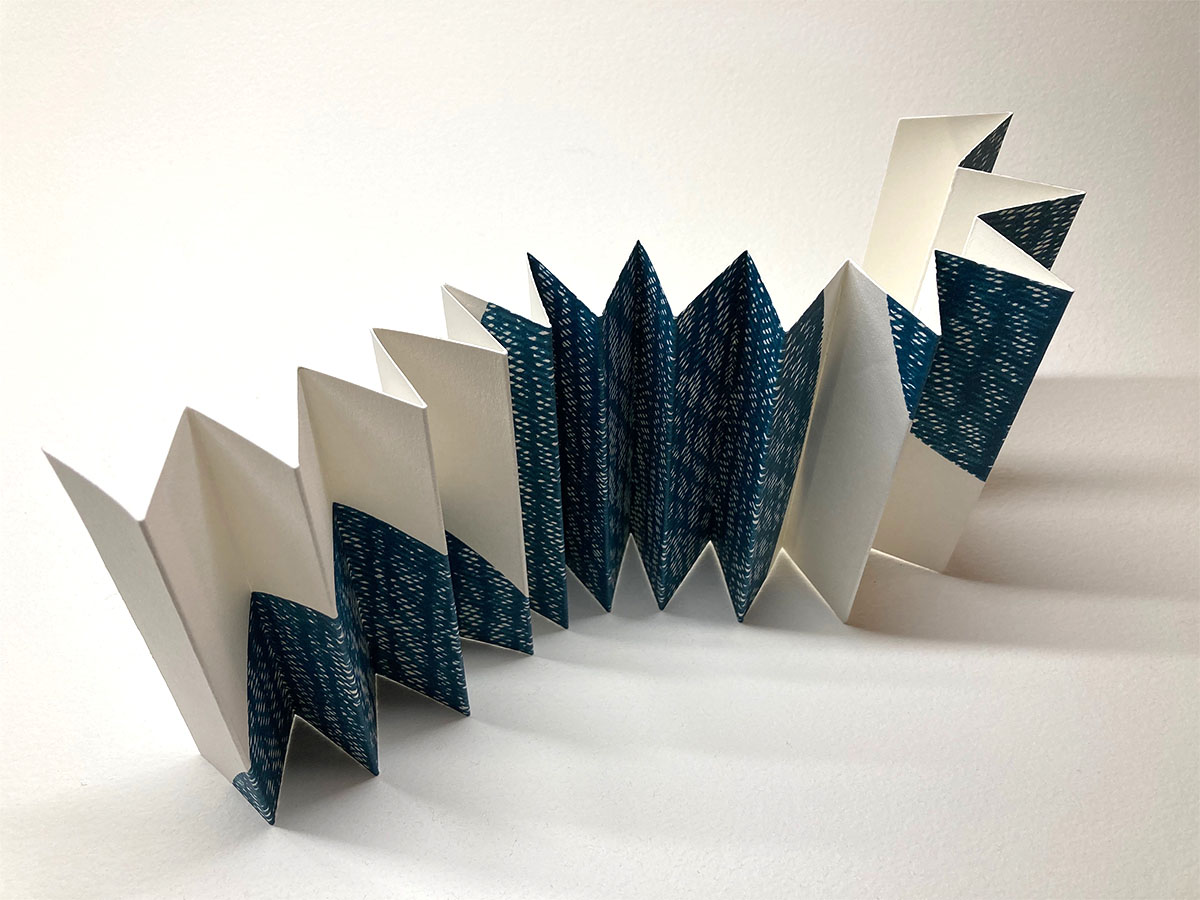
This can be repeated until you have the length needed. To help the book structure retain its shape especially when using heavier papers I usually place it under a pile of books for 24 hours to set the folds. Depending on the paper used this structure can support itself or covers can be added, this will be cover in another post.

Jan
Comments 7
Brilliant post 😎
>
Thanks Kathleen glad you enjoyed it
I love this format Jan. particularly the end result with beautiful indigo artwork…
Think I may try ..l bought a book for drawing in, like this in Tokyo. I’ve done only a couple of sketches ..
Such a good idea. Nice as a momento or a gift .
Thanks Fiona, do have a go it’s very straightforward and once you begin you start to see the other possibilities this form has, enjoy – let me know how you get on
Really engaging post – many thanks
Wonderful description of grain direction which is so important in successful bookbinding.
Went to a pop-up exhibition of concertina artist books in Grantown on Spey recently which showed this type of handmade book to great advantage. 👍
Your work looks great! And I like the font.